Coriolis flowmeter basics
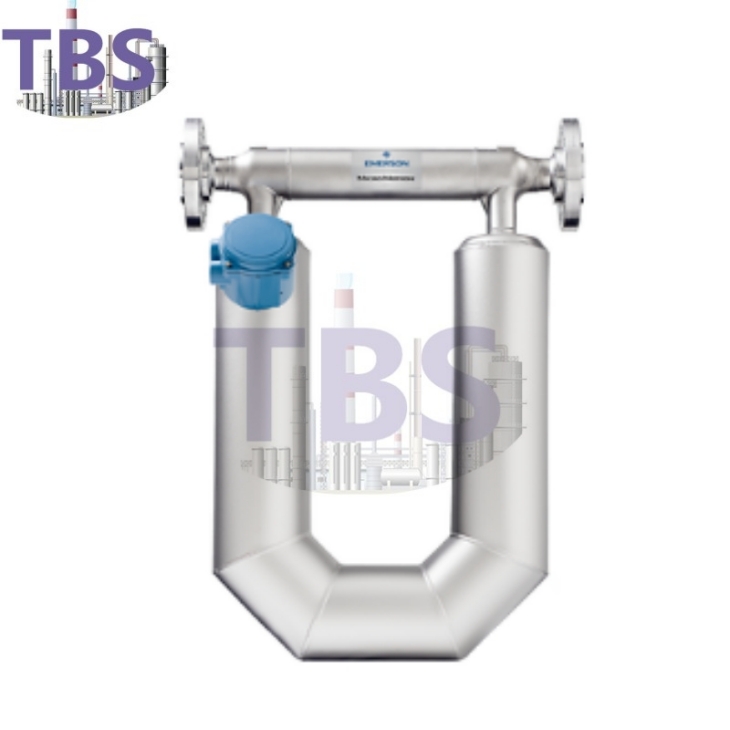
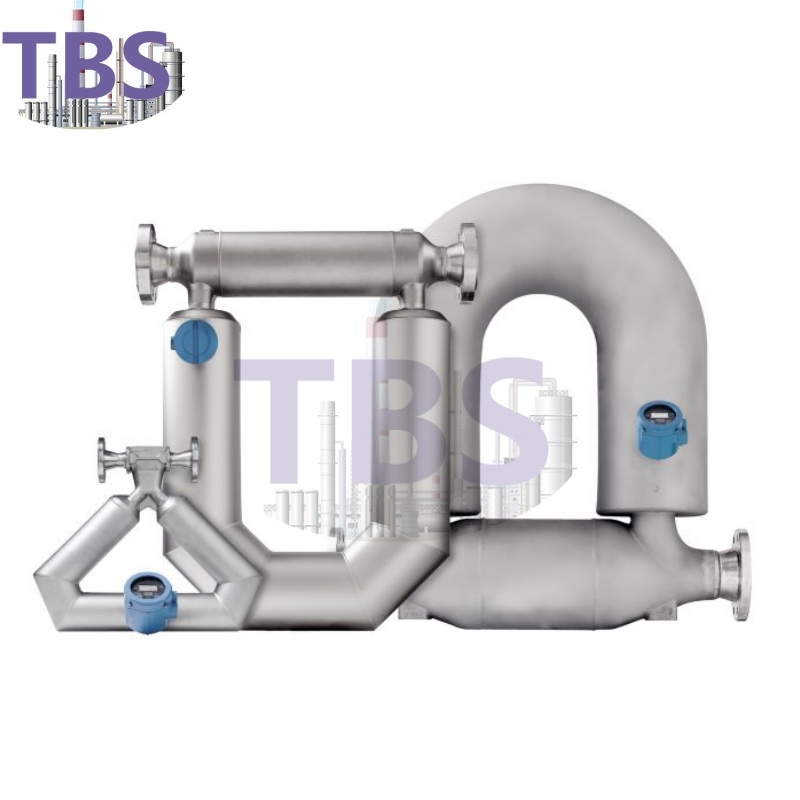
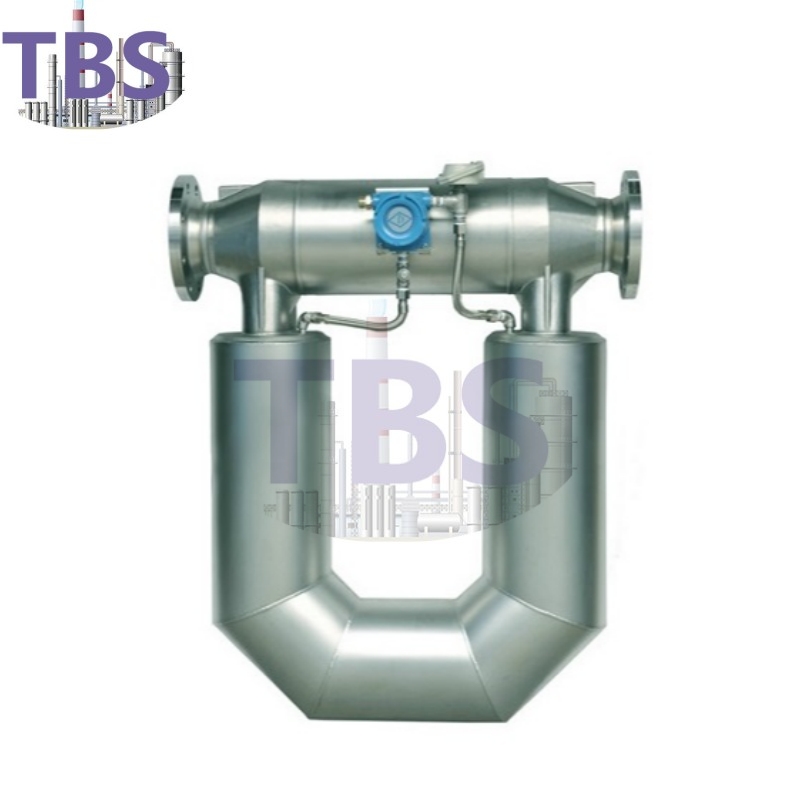
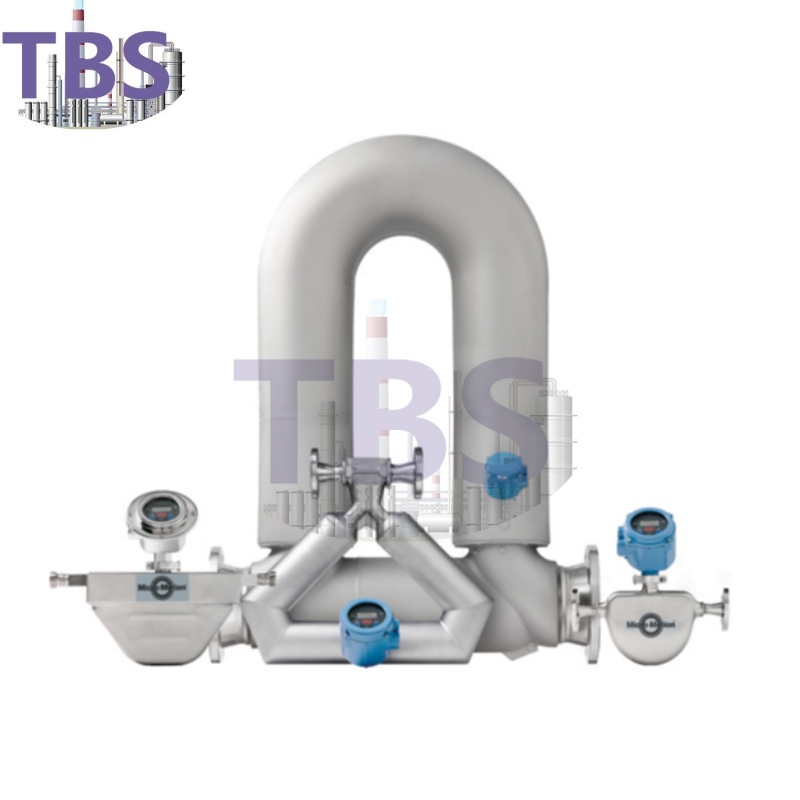
The first important element to note about a Coriolis flowmeter is the fact that it has no mechanical parts that can wear out, which increases the lifespan of a meter significantly. Another benefit of this, somewhat unique to Coriolis meters, is they do not need nearly as frequent recalibration as mechanical type meters. The measuring element has no cause to wear or change over time.
The operation of a Coriolis flowmeter is based on the principles of motion mechanics. As fluid moves through a vibrating tube, Coriolis force is generated as the fluid is forced to increase its angular momentum to move with the tube vibration as it approaches the point of peak-amplitude vibration. Conversely, angular momentum is lost when the fluid moves away from the point of peak amplitude as it approaches the exit point of the tube. The result is a twisting reaction of the flow tube during flowing conditions as it traverses each vibration cycle.
There are a few things to consider about calibration best practices before choosing a Coriolis flowmeter. Primarily those are the traceability of the reference standard that will be used for the meter calibration and the calibration procedures that apply to a specific meter model.
Measurement traceability
There are two essential elements to traceability:
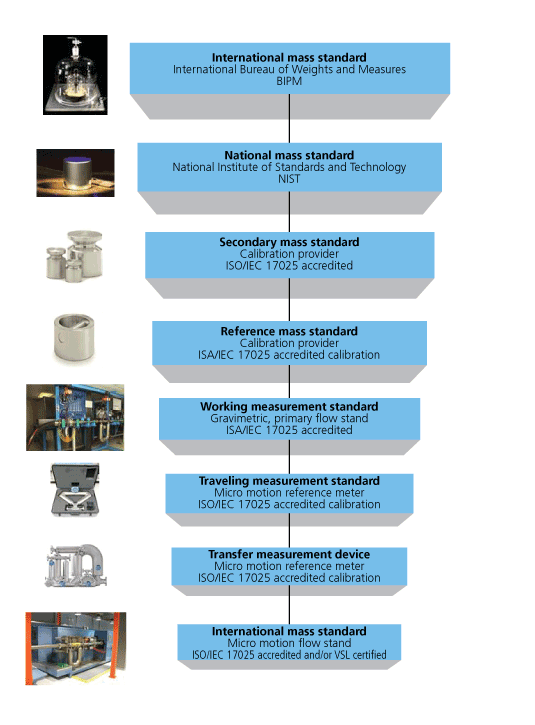
an unbroken chain of measurement comparisons, each to a higher standard, that eventually link back to national or internationally maintained reference standards
a documented uncertainty calculation that includes the accumulated uncertainties of all the previous measurement comparison links in the chain.
It is essential to a facility that its most important tools for flow process control (i.e., Coriolis flowmeters) meet local, state, and federal regulations, as well as their own internal quality standards. Having a rigorous measurement traceability to international standards helps ensure flow measurement equipment can meet those standards. In the case of mass flow measurement, such as those a Coriolis meter can provide, traceability is the chain of measurement standards going back all the way to the International Mass Standard as determined by the Planck constant. (Previously, the standard was set by the International Bureau of Weights and Measurements, but the world has recently adopted a natural standard defined by Planck’s constant for greater consistency and accuracy).
Traceability documents the paths by which everything ties back to a single central starting point. In addition, traceability allows a facility to understand and apply the appropriate level of uncertainty to its measurements. Finding the right balance between the cost of uncertainty and the benefits of product quality and process efficiency can be achieved by understanding the uncertainty as documented in a traceability fact sheet or website for the meter under consideration. In all instances, the level of precision and refinement of a product will depend on the level of uncertainty found in the meter. Figure 1 illustrates a chain of traceability, which is an essential tool in achieving traceability accreditation.
Calibration procedures
The traceability of a calibration reference standard obviously matters, but how is calibration against a set standard achieved? The calibration process requires a strictly controlled procedure and an environment where a device can be put through a series of reproducible tests.
When calibrating a Coriolis flowmeter, there are two different preferred methods that can be used to reach optimal calibration. There are other methods available for other types of flowmeters that are sometimes used in applications that do not require the meter to handle flow rate transitions as well as a Coriolis meter can.
When the calibration batch begins and ends at a no-flow condition, it is a static start/finish method of gravimetric calibration. A weigh scale is used as a reference in this method, and the scale will have been calibrated using traceable mass standards. In this instance, the test fluid is water. The water is measured through the unit under test (UUT) and collected in the tank. At the end of the test, the tank is weighed again and compared to the total mass measured by the UUT.
In an application where it is necessary to obtain a better uncertainty, the mass shown on the scale will be corrected for the effect of buoyancy acting on the water in the tank, as well as for the effect of buoyancy on any immersed pipe in the setup. Fluid pressure and temperature are measured upstream and downstream of the UUT. For static start/finish, the ambient pressure, temperature, and humidity are measured during each test. Figure 2 represents graphically how this method works.
Transfer standard method


